
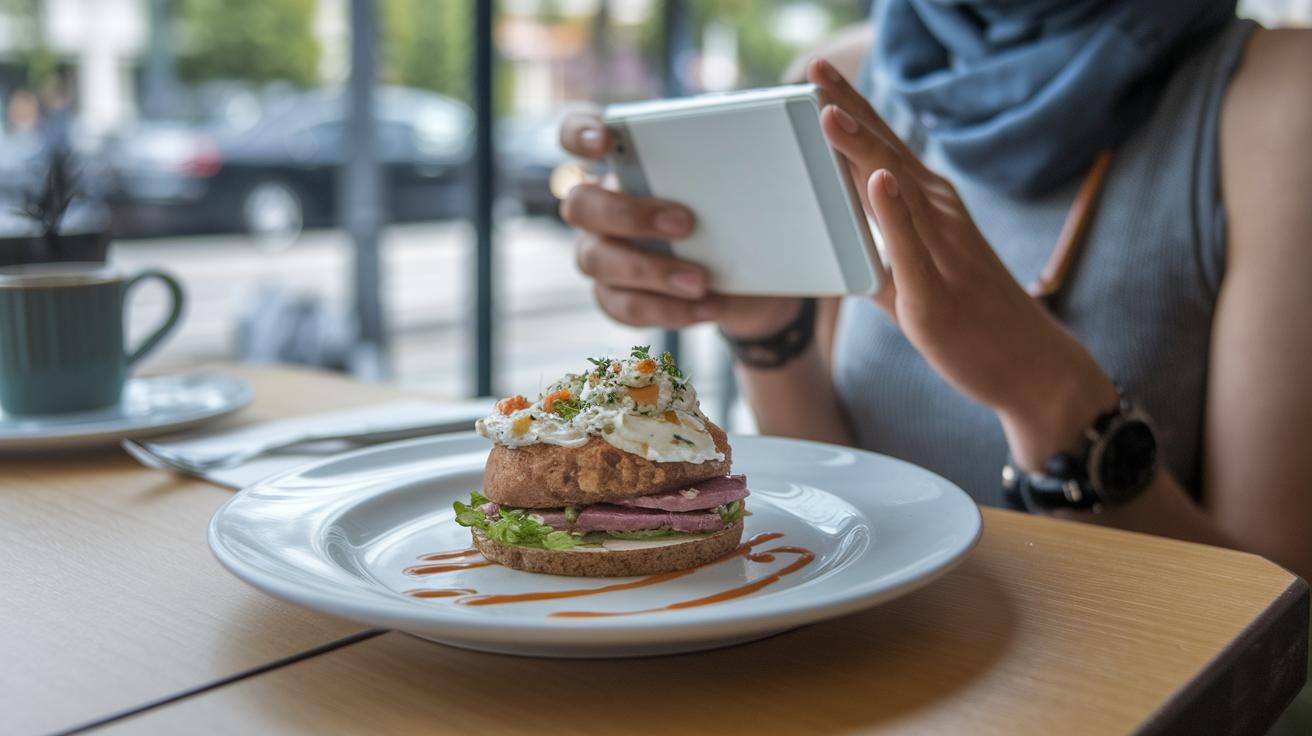
Have you ever thought your meal could be more than just something tasty? When you're exploring new places, snapping a quick photo of your food lets you capture its lively spirit before you even take a bite.
Taking that perfect shot is easier than you might think. By using natural light and adjusting your camera settings just a bit, you can freeze the moment and save the fresh, local flavor of your dish. It's like preserving a mini adventure in every picture!
This simple guide is here to help you turn each meal into a snapshot of its true charm. Next time you dig into a new dish, take a moment to record its story, you might just see your journey in a whole new light.
Essential Tips for Inspired Food Photography in Travel
Before you start digging in, snap a pic of your dish. Catch it just before the first bite to keep that fresh, untouched vibe. I always take a quick shot before tasting, it’s a neat way to hold onto the dish’s true charm, especially when you're in a hurry.
Find a spot where natural light spills in, like a cozy table by a window or a shaded corner. Imagine your meal softly lit by the warm glow of the afternoon sun, the gentle light brings out every detail and color without much fuss.
Don’t be afraid to play around with your camera's manual settings. Switch to RAW mode and tweak the white balance to show off the food’s real hues. It’s like fine-tuning your travel itinerary (a simple plan for the shot) to capture the tiny crispy bits and the smooth, drizzling sauce perfectly.
Try using the Rule of Thirds to make your shot look balanced. Arrange your food off-center on an invisible grid or capture it from a 45° angle for some extra depth. Picture a salad placed just slightly off the grid, simple, yet visually inviting.
When the light drops, grab a lightweight tripod like a Gorillapod and use your phone’s advanced settings. Let your surroundings guide you by framing your dish with a bustling street or a quaint market in the background. Embrace these tips and let every shot tell a story of its local flavor.
Must-Have Gear for Capturing Culinary Moments on the Go
When you’re off on an adventure, having the right gear can turn a simple meal into a story worth sharing. Your smartphone should be ready for any moment of magic. It ought to let you shoot in RAW mode and tweak settings quickly, whether you're enjoying a cozy restaurant or a bustling street eatery.
A lightweight tripod, like a Gorillapod, becomes your best friend in busy markets or quaint outdoor cafes. It helps you grab steady shots in those split-second moments you never want to miss. Pair your phone with a fast prime lens or a handy macro attachment, and you can capture even the tiniest details, from the sparkle of sugar to the swirl of a rich sauce.
Keep your table settings simple. Neutral plates and plain linens let the dish speak for itself without any distractions. Here’s a quick list of what to bring:
| Gear | Description |
|---|---|
| Smartphone with RAW capability | Allows for quick adjustments in any light |
| Compact tripod (Gorillapod) | Keeps your shots steady in busy settings |
| Fast prime or macro lens | Highlights every intricate detail of your dish |
| Portable reflector or diffuser | Enhances natural light for brighter photos |
| Basic styling props | Simple elements like napkins or utensils to set the scene |
Next time you set out on your culinary journey, pack these essentials and be ready to capture every delightful bite. Happy snapping!
Composition and Styling Techniques for Travel Food Photography
Taking amazing food photos while traveling is all about how every little piece fits into your scene. Start by using the Rule of Thirds grid (a guide that splits your view into three equal parts) to set your main dish or a striking garnish where the eye naturally lands. For example, imagine a bright, fresh salad placed a bit off-center. Each color and detail works together to balance the shot and pull you right in.
Rule of Thirds Application
Divide your frame into three equal parts both vertically and horizontally. This simple trick helps you find just the right spot where the eye naturally falls. Picture a steaming bowl of soup with a tiny sprig of basil resting right at one of those points. It’s a small detail, yet it sparks curiosity.
Mastering Flatlay Shots
Flatlay photography is a fun way to tell the story of your meal from a bird’s-eye view. Lay out your food, utensils, and even the napkin in a thoughtful arrangement that captures the spirit of the dish. Imagine an overhead shot of a rustic cheese board where every item has its place, showing off textures and colors like a painted picture. You can play with both even (symmetrical) and off-balance (asymmetrical) setups to create a lively, spontaneous feel.
Creative Angle Variations
Mix up your angles to uncover new details. Try a 45° view, a low angle, or even a straight-on shot to highlight the textures and surroundings of your dish. For instance, shooting a plate of pasta from a 45° angle might reveal the creamy sauce and the charm of an outdoor table setting. Changing your viewpoint can add depth, either by isolating the dish with a soft background or by capturing the whole scene in focus. Each angle offers a fresh way to experience your meal.
Lighting Strategies for Capturing Food Abroad
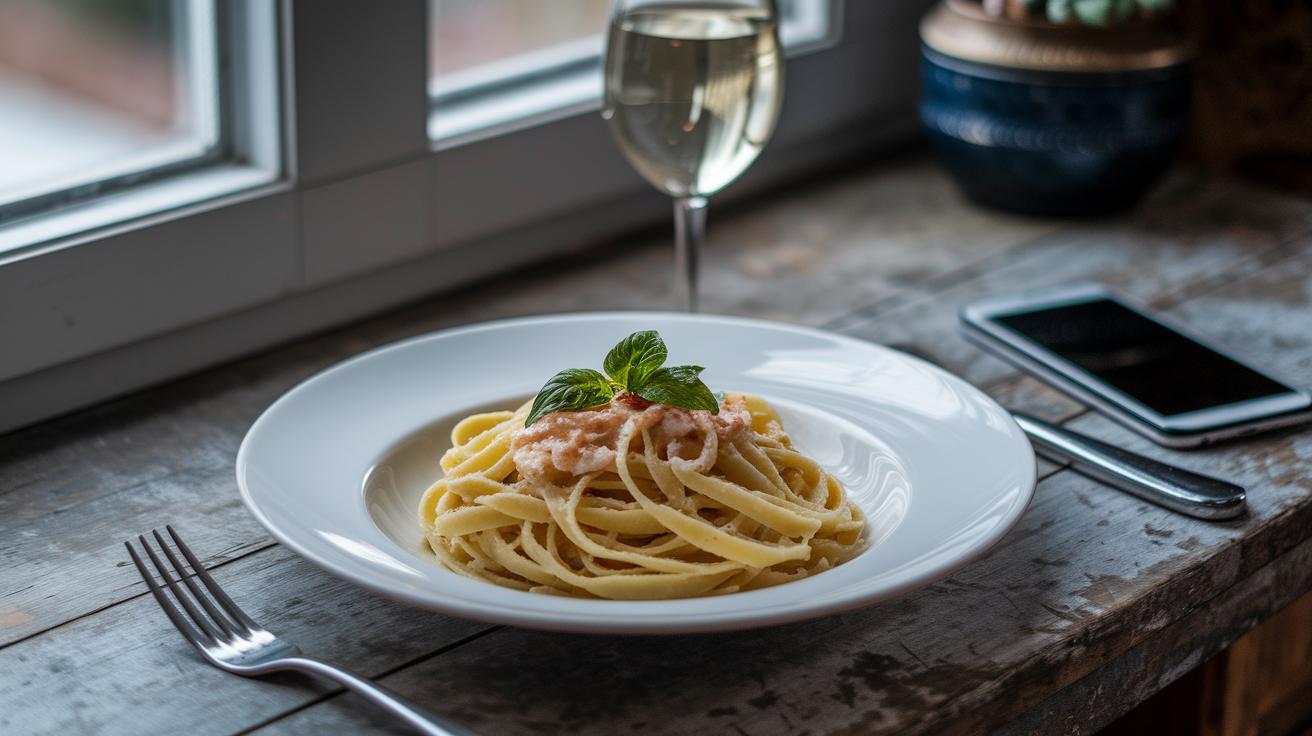
When you're exploring new places and photographing food, the light you use can really make a difference. Soft daylight that filters through windows or spills over a shaded patio gives dishes a warm, natural glow. Instead of dealing with the harsh midday sun that flattens details and creates strong, uninviting shadows, try to find spots where the light is spread out. Imagine a gentle beam falling over a plate of pasta, with delicate shadows that add warmth and depth.
You can even use a small reflector or a simple white card to bounce light into those dim corners, softening any hard contrasts. In low-light settings, like dining outdoors under twinkling string lights or enjoying a quiet café lit by candles, the ambient glow creates a mood that makes food look extra inviting. Next, experiment with different lighting tricks and watch how natural shadows add character and sculptural detail to your images.
- Window-side seating for natural diffusion
- Intentional use of shadows in bright conditions
- Reflectors to soften harsh contrasts
- Ambient light (candles, lanterns) for atmosphere
Telling a Story with Travel Food Photos
Frame your food in a local setting so that the surroundings help tell your story. Picture a bustling market stall along a lively city street or a rustic dish set against softly rolling hills. These real-life scenes invite viewers to experience the place. Imagine a warm, sunlit afternoon where a bowl of fresh fruit glows on an old wooden table. Simple scenes like these weave a rich narrative.
Add human touches to bring genuine life to your photos. Think of a hand reaching for a fork, someone pouring a bright sauce, or friends sharing a quiet moment over a meal. These small interactions hint at the local traditions and the laughter shared among diners.
Use open space to make your dish the star of the shot. Leaving a clear patch in your background can emphasize the textures and colors of your meal without any distractions. And, by matching bold food tones with backgrounds like rustic wood, you subtly reinforce the story behind the food.
All these details come together to turn each picture into a diary of your culinary adventures. Every thoughtful element, from the scenic setting to the careful placement of utensils, turns a simple photo into a tale that celebrates both the food and the culture behind it.
Post-Processing and Editing Workflow for Travel Meal Images

Working with RAW and White Balance
When you're out snapping shots of your delicious meals, start by importing your images in RAW format. This ensures you capture every little detail, from bright highlights to the softest shadows. Next, play with the white balance using the temperature and tint sliders. Imagine you’re sitting by a sunlit window or under gentle candlelight; adjust until the colors feel true to the dish's natural vibe. It’s like fine-tuning a recipe so every hue pops just right.
Fine-Tuning Exposure and Contrast
Once your white balance feels just right, dive into the exposure settings. Tinker with highlights, shadows, whites, and blacks to give your image some depth. A quick boost in contrast can make all the difference, emphasizing the curves and textures of each ingredient. Picture a beautifully plated dish where soft shadows bring out every little detail, the magic is in these small adjustments.
Cropping and Framing Adjustments
Finally, give your photo a polished look by cropping and straightening out any distractions. Use the crop tool to zero in on the most tempting parts of your meal. By cutting out the clutter, you let the dish shine like the star it is. This careful framing turns a simple shot into a visual story of your tasty adventure.
Scouting Local Markets and Street Dining for Photo Inspiration
Rise early and head out to local markets when the day is just beginning. At sunrise, gentle light reveals fresh fruits and hand-made goods, each stall glowing in its own special way. Imagine walking through a market with vivid fruits and aromatic spices enticing your lens to capture every detail.
Wander down busy alleyways where street food vendors serve up quick bites and warm smiles. Hear the sizzle of food cooking on the spot and feel the energy of vendors bustling with life. These moments are full of movement and flavor, perfect for snapping shots of cultural dining memories.
Sometimes, it helps to join a local cooking class or visit a family kitchen to see behind the scenes. Watch a chef carefully chop herbs or a family work together to create a time-honored dish. These candid moments add a personal touch to your culinary photography, telling a richer story about local traditions.
Keep your camera close because these lively scenes can change in an instant. Think of each photo as a diary entry filled with local flavors and heartfelt interactions. Next, remember these key points to enhance your photo adventures:
- Explore markets at sunrise to enjoy gentle, natural light.
- Focus on vendors displaying fresh produce, spices, and regional treats.
- Look for dynamic street food scenes that capture the buzz of on-the-go dining.
- Document behind-the-scenes moments in cooking classes or local home kitchens.
Advanced Capture Techniques: Macro and Overhead Culinary Shots
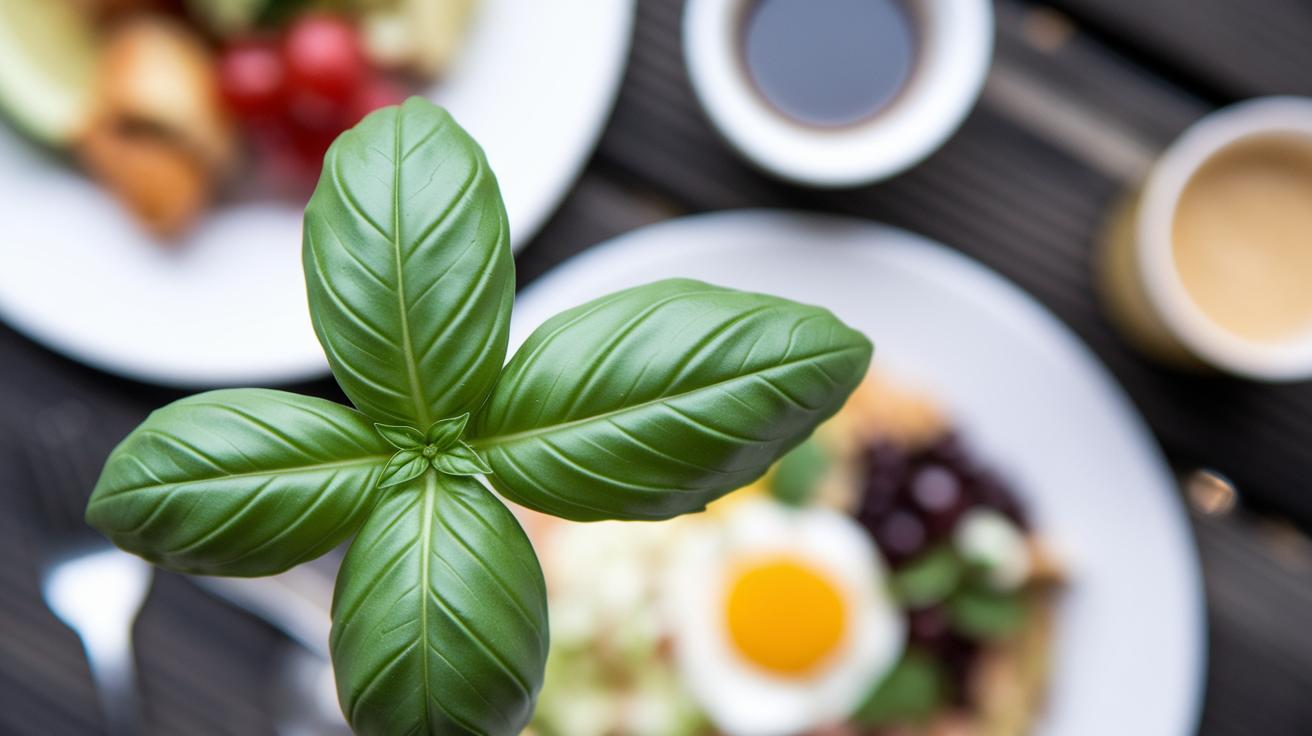
Ever felt like embarking on a mini adventure inside your favorite dish? Macro photography lets you zoom in so close that every dewdrop and grain becomes a tiny revelation. Imagine holding a sprig of basil so near that its leaf veins show off a delicate, intricate map. With a macro lens or a smartphone attachment, you capture these hidden textures that tell their own delicious stories.
Then there are overhead shots, perfect for sharing the full charm of your table spread. Picture a cozy brunch layout where every pastry and folded napkin fits into one vibrant, eye-catching frame. A steady setup using clip-on mounts or overhead rigs keeps everything aligned just right. Mixing up the macro detail with an overall overhead view brings a fun contrast and depth to your photos, turning a meal into a lively visual tale you can share on your feed.
Final Words
In the action, we covered effective ways to capture mouth-watering food scenes while traveling. We broke down essential gear tips, smart lighting strategies, creative composition, and styling techniques to frame those tasty moments perfectly. We also touched on local market spots and advanced macro or overhead setups to make each shot tell its own story.
This inspired guide to food photography in travel aims to spark fresh ideas while keeping things simple and fun. Enjoy every snap along the way!
FAQ
What is an inspired guide to food photography in travel PDF?
The inspired guide to food photography in travel is a free PDF that provides clear tips on capturing mouthwatering food images while traveling. It outlines gear, angles, and lighting strategies to help you snap enticing photos.
What is the rule of food photography?
The rule of food photography means using the Rule of Thirds, where you align your dish along the grid intersections. This simple tip helps balance your shot and keeps your food imagery engaging and appealing.
How can I take great photos when traveling?
Taking great photos while traveling involves shooting dishes before eating, catching natural light, and using manual modes. Quick shooting in busy spots and varied angles add creative flair to your food images.
What are the three key angles for food photography?
The three key angles for food photography are top-down, 45°, and eye-level. Each angle lets you emphasize different textures and details, offering unique views that increase the visual storytelling of your meal.