
Ever thought a few quick tweaks could make your travel photos sparkle? After snapping countless RAW shots on your adventures, choosing the best ones can feel a bit like sifting through a treasure trove.
But don't worry, you can use simple fixes in Adobe Lightroom or even adjust your photos on your phone with Snapseed. Imagine picking out your favorite postcards from a trip and then enhancing them with just the right white balance and crop to bring out their charm.
This guide will show you how a few easy edits can transform your pictures into vivid memories that shine with all the warmth of your journeys.
Core Travel Photo Editing Techniques
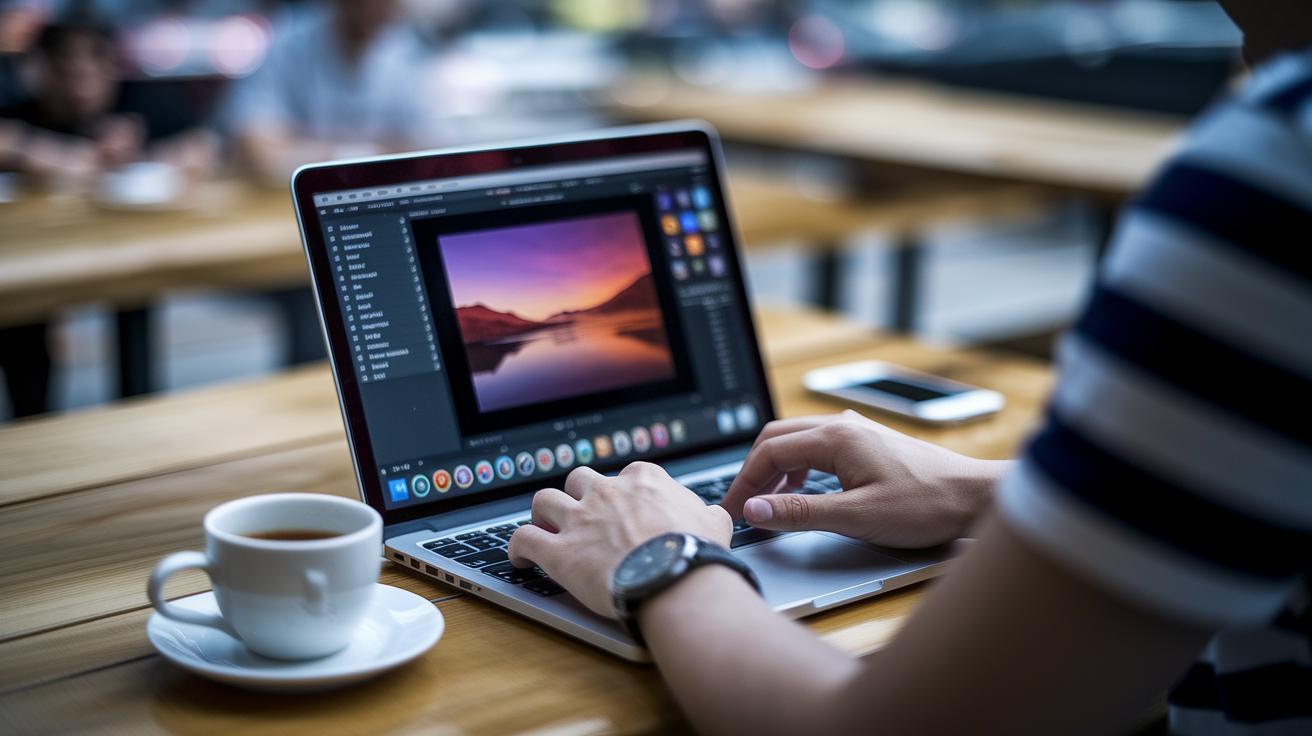
After a long journey packed with thousands of RAW photos, it’s time to dive into editing with Adobe Creative Cloud. First, fire up Lightroom to import, rename, label, and sort your pictures, kind of like choosing the best postcards from a memorable trip.
Next, head over to the Develop module where you adjust things like white balance (that is, the warmth of the image), crop, and reduce noise. Picture it as fine-tuning your camera settings after realizing a sunset needed a little extra glow.
Then, follow a simple, step-by-step approach to handle images from diverse trips. When lighting changes and new scenes unfold, sometimes a few manual tweaks (think of them as friendly adjustments) turn an okay shot into a travel masterpiece.
Remember, cutting out about half your images early on means you can concentrate on sharing only the very best moments from your adventures. Enjoy the process like piecing together a travel story that shines with every edited detail.
Mobile Travel Photo Editing Tips
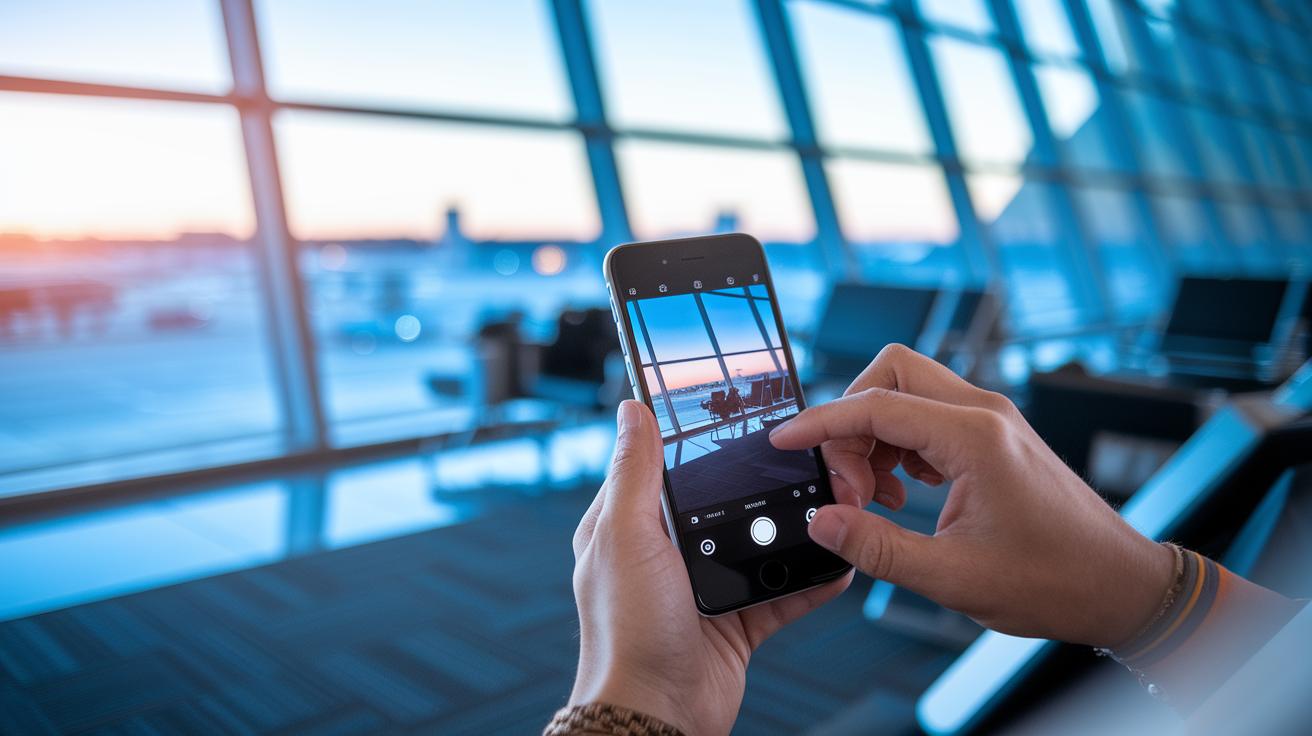
Snapseed is a real gem on your phone, perfect for quick JPG edits when you're out and about. If you're on a short trip, one or two memory cards work just fine, download your photos once you’re home and give them a proper look. And when you're cruising at 35,000 feet, Lightroom Mobile saves the day by letting you quickly pick out your best shots. I once sorted through my entire flight's photos in under 10 minutes using it!
Simple tweaks like brightening the image, cropping to cut out distractions, or straightening a wonky horizon can make your photos pop the moment you tap them open. Mobile presets can seriously cut down your editing time. Still, sometimes a manual fix is needed, especially if your shot has pesky high-ISO noise or the horizon just won't sit right.
- Snapseed for on-the-spot JPG fixes
- Lightroom Mobile for quick culling during flights
- Presets to speed up your edits
Treat every photo like it’s part of your own little travel story right on your smartphone, making sure each image feels as polished as when you finally sit down at your desktop.
Lightroom Travel Photo Editing Presets
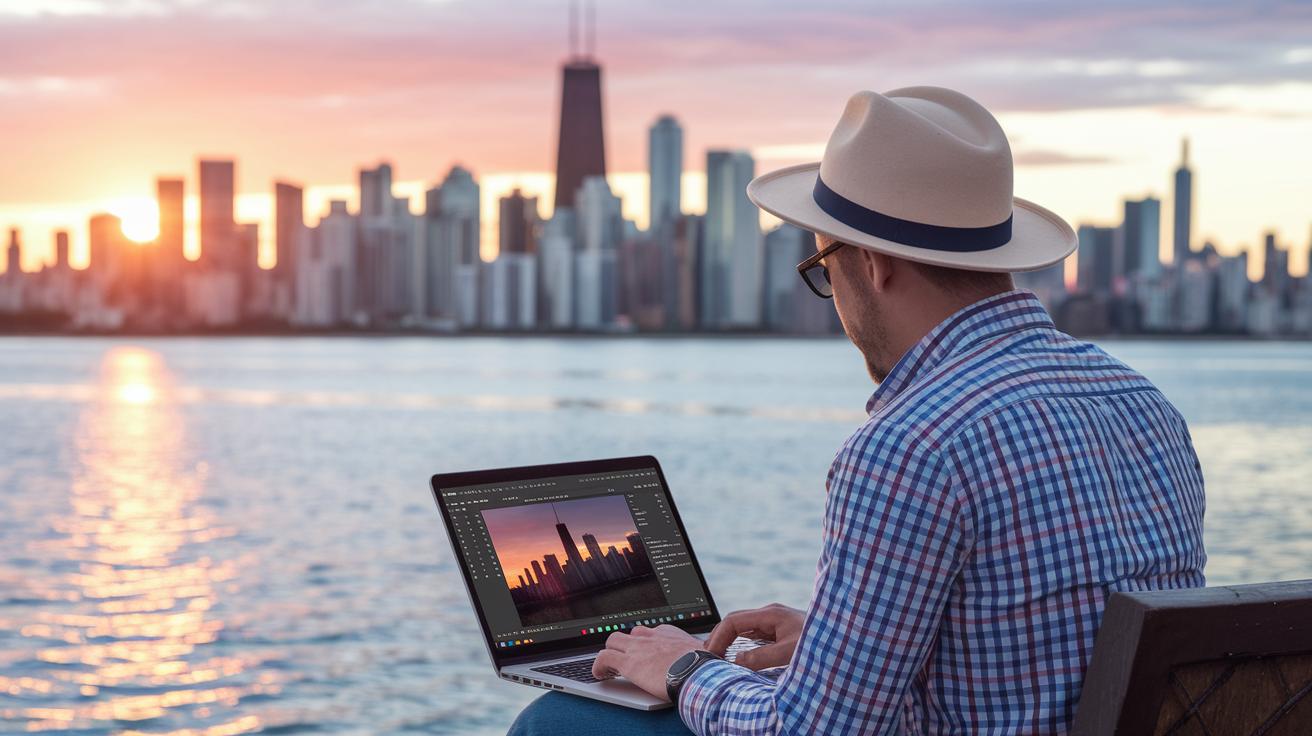
Once you’ve safely backed up your travel photos by importing them from an external drive into your main Lightroom catalog, it’s time to let your creativity shine with presets. These friendly settings in the Develop module quickly give your Instagram posts, blog entries, and high-res prints a consistent feel. I remember tweaking a preset that adjusted exposure and color to mimic the gentle glow of a quiet sunrise, it was like capturing a moment of pure magic!
Next, give your photos a little overnight rest while full-size previews are generated. This makes your later edits smooth and fun, letting you fine-tune every preset. You can easily fix issues like crooked horizons or stubborn grain with a few simple tweaks. It’s a blend of automatic adjustments and your own personal touch, just like finding the perfect balance on a long journey.
Remember, no preset can replace a little extra attention. Even though these Lightroom presets speed up the process, sometimes you’ll need to make small manual tweaks to fix exposure or color surprises. Every detail matters when you’re trying to capture the true vibe of a destination. In truth, combining these smart tools with your own creative eye turns ordinary shots into travel stories that really pop.
Photoshop Travel Photo Editing Adjustments
Ever snap that perfect travel shot but feel like it’s missing a little magic? When your photos need that extra spark, Photoshop comes to the rescue with neat tools that refine every detail. First, try using lens correction and perspective adjustments to straighten the lines of a buzzing street scene or a centuries-old building, imagine a leaning tower standing proud and vertical like it’s ready for its close-up.
Next, play around with gradient masks. These are great for brightening up a sky or deepening the calm shades of the sea. Picture gently overlaying a gradient on a dimming sunset, letting the colors pop like they’re dancing in the golden light. And if a few spots are distracting from the vivid scene, a quick spot healing fix takes care of those little nuisances.
If you’re after a bold, dramatic twist, try a one-click black and white conversion. It instantly transforms your shot, lending it a timeless feel that complements any modern vibe. Meanwhile, using Curves and color balance allows you to fine-tune shadows and highlights until every detail feels just right.
Lastly, experiment with layer blending techniques that mimic HDR effects, kind of like stitching together multiple exposures to reveal every nuance in your scene. With these Photoshop adjustments, your travel photos go from casual snapshots to dazzling pieces of art that truly shine.
Travel Photo Editing Masking and Local Edits
Ever wondered how to turn an ordinary travel photo into a visual story that truly sings? Lightroom's masking tools give your images that extra spark, letting you highlight exactly what matters. Radial, graduated, and brush masks work like magic when you need a little extra love in specific spots. For example, using a radial mask to boost the warmth of a sunset can make all the difference, once, a quick mask along the horizon saved a shot from a washed-out sky!
Next, local edits let you zero in on details that need some tender care. Whether you're smoothing out a busy sky with targeted noise reduction or lifting shadows to reveal hidden city details, these tweaks add depth and drama to your travel scenes. It's like uncovering a secret corner in a familiar place, where every brushed stroke brings out textures you might have missed on a bright day.
Selective focus is another cool trick, especially in lively scenes where only one part should grab your attention. Tilt-shift adjustments can even straighten out skewed architectural lines, making buildings look just right, even in a bustling urban backdrop.
- Radial, graduated, and brush masks to enhance specific areas
- Targeted noise reduction to calm hectic skies or water surfaces
- Manual shadow recovery for uncovering hidden details
- Highlight sculpting to rescue details lost in bright zones
Each of these techniques offers you a dedicated way to refine your photos, ensuring every captured moment reflects the true beauty of your journey.
Travel Photo Editing Color Grading and Tone Enhancements
Start by checking your histogram. Look at it like a roadmap that tells you when your image might need extra brightness or a little boost in contrast. Adjust shadows and highlights to capture those sky details, giving your photos a burst of adventure and color.
Next, try using the clarity slider in the midtones. This little trick sharpens textures without overdoing it, kind of like bringing out the crisp edges of a busy market street. Then, move on to the HSL panel, where you can tweak the hue and saturation of each color. Even a small shift in the blues can transform a flat sky into something that feels fresh and deep.
Split-toning is another fun tool. It lets you add mood by pairing colors that make your photos uniquely yours, almost like giving them their own personality. Adjust the highlight and shadow sliders to widen the dynamic range, ensuring every part of your scene shines in balance.
Combine these techniques to correct exposure and add a natural tone full of life. With these easy adjustments, your travel images will pop with color and warmth, ready to spark the wanderlust in anyone who sees them.
Travel Photo Editing Export and Sharing
When your travel photos have been given that special editing touch, it’s time to export them and share your adventure with the world. For Instagram, save your shots as JPEGs at 2048px; for your blog, a 1200px width works beautifully. And if you’re printing them, stick with 300 dpi for crisp, clear results.
To keep your gallery looking consistent, try using batch-export. This helps you maintain a uniform vibe across your images, kind of like creating a well-curated travel diary. Imagine your photos glowing with an inviting, sun-kissed charm, just like a perfect day abroad.
Sharing is a breeze too. With the SmugMug plugin, your full-resolution portfolio syncs automatically for easy bulk uploads. Embedding metadata and an optional watermark during export not only protects your work but also adds a little story to each image.
Schedule your posts with preset export folders and consistent naming styles. That way, every time you share, it feels like stepping into a new, well-planned travel segment, ready to captivate your audience.
Final Words
in the action we covered essential steps for transforming travel photos using simple, effective photo editing techniques. We explored initial sorting, mobile touch-ups, precise Lightroom presets, Photoshop adjustments, targeted masking, and color grading to bring out each photo’s charm. The tips serve as an inspired guide to travel photo editing tips that keep your images fresh and meaningful. Enjoy transforming your travel shots into striking visuals that capture the magic of your memories and invite more fun on your next trip!
FAQ
How should I start organizing travel photos before editing?
The best method is to import your images into Lightroom, rename and label them, and then cull roughly half, creating a clean folder to work from for your later edits.
What core adjustments should I make in Lightroom’s Develop module?
Lightroom’s Develop module allows you to adjust white balance, crop your photos, reduce noise, and apply targeted masks, ensuring your images are primed before applying further edits.
How can I efficiently edit travel photos on my mobile?
Mobile editing works well with apps like Snapseed for quick JPG fixes and Lightroom Mobile for preliminary culling, exposure tweaks, cropping, and straightening horizons on the go.
How do Lightroom presets enhance travel photo editing?
Lightroom presets speed up your editing process by applying custom looks for Instagram or blogs, while still allowing essential manual tweaks when preset settings don’t fully address exposure or color concerns.
How does Photoshop elevate travel photo edits?
Photoshop offers advanced tools like lens correction, gradient masks, curves, and color balance adjustments, plus one-click black and white conversions and layer blending techniques to improve your photos.
What masking and local editing techniques boost image quality?
Using Lightroom masks for radial, graduated, or brush edits lets you target specific areas, recover shadows, sculpt highlights, and correct perspective, resulting in images with improved depth and detail.
How do color grading and tone enhancements transform your travel photos?
By reading histograms and adjusting shadow, highlight, HSL, and clarity sliders – with options for split-toning – you can turn flat images into vivid scenes that capture the beauty of your travels.
How can I export and share polished travel photos effectively?
Export your images at optimal sizes (like 2048px for Instagram), use batch-export for consistency, embed metadata or watermarks, and follow set naming conventions to maintain a professional portfolio.