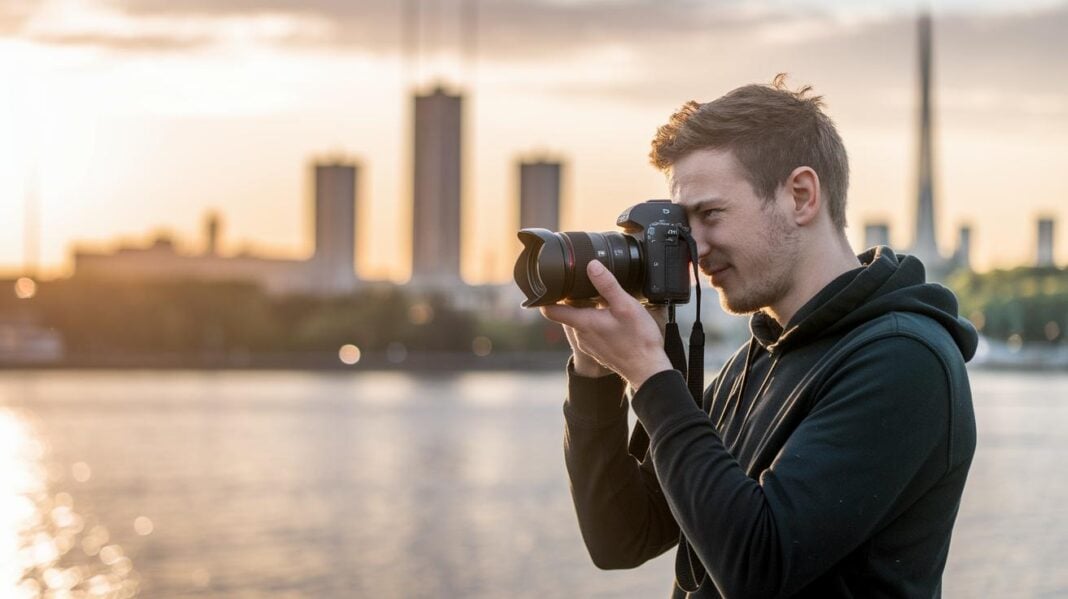

Ever wondered if your camera can capture the soul of centuries-old places? Let me share some tips for photographing historic treasures. Picture the gentle glow of the early sun on weathered stone or a quiet moment when a landmark reveals its hidden charm.
With each shot, you become a storyteller, assembling little clues from the past into memories that last. Our easy, step-by-step advice helps you work with light, angles, and the rich history of each site so that every photo feels like a well-told story.
Step-by-Step Techniques for Photographing Historic Landmarks
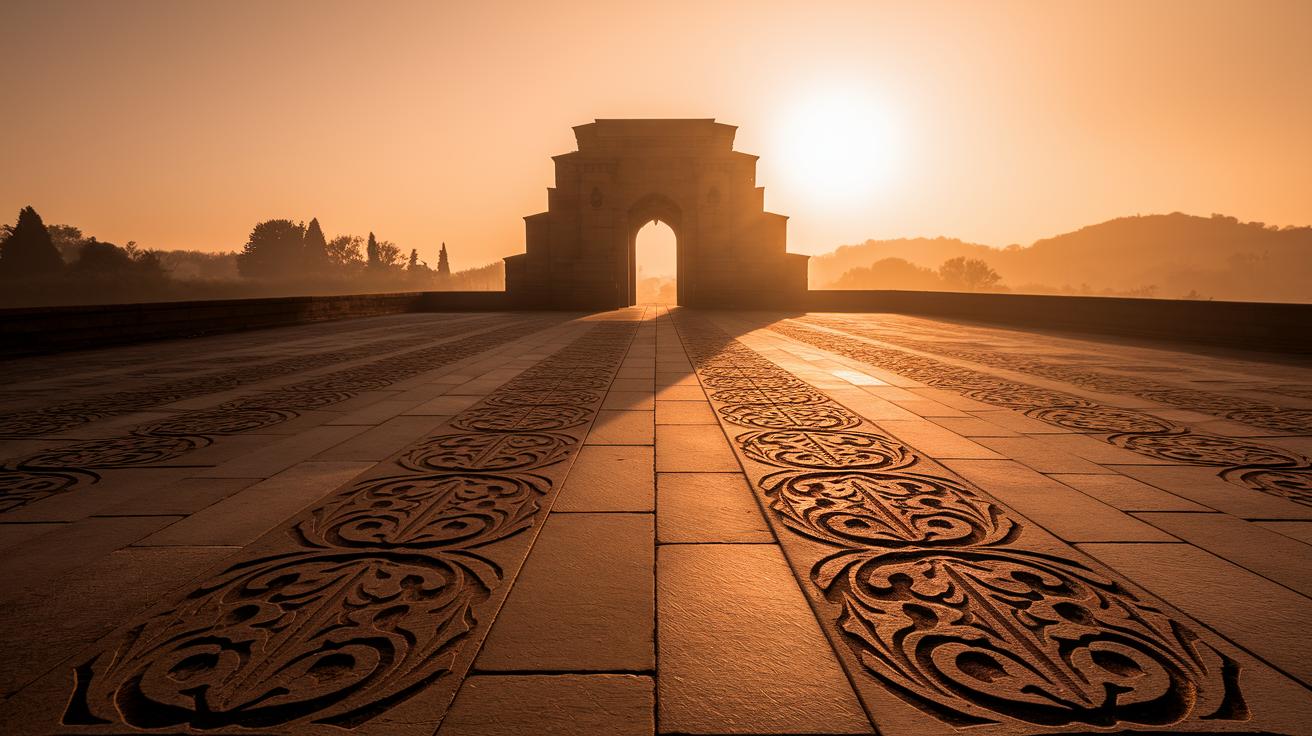
Start with a little homework before you go. Look up the history of the place and learn what makes it so special (like the secret recipe for its charm). This way, you can spot the perfect moments to take pictures, imagine capturing the soft glow of sunrise or the calm hours when very few people are around.
Get your camera and gear ready, and plan your settings like you’re packing for a mini adventure. Think about the weather, how the light falls, and when the crowd might thin out. This planning helps you know when to arrive and which viewpoint will show off the landmark’s true character.
- Learn the site’s history so you know its story.
- Pick the best spots and plan your shot to bring out its essence.
- Try different angles by shooting both from the outside and peering through doorways or windows.
- Enjoy the gentle glow of early morning light to keep harsh shadows and crowds at bay.
- Zoom in to capture the fine details like carvings or cool textures that tell a deeper story.
- Watch the weather and adjust your settings to balance bright stone details with soft shadows.
- Experiment with long exposures to show some movement and life around the landmark.
- Follow any on-site rules and respect local customs, like avoiding flash and dressing appropriately at special sites.
Each photo you take is like a little journey back in time, letting you share the landmark’s magic in your own way. Enjoy the adventure, and let your creativity lead the way!
Mastering Exposure for Historic Landmark Photography: Shutter Speeds, Apertures, and Long Exposures
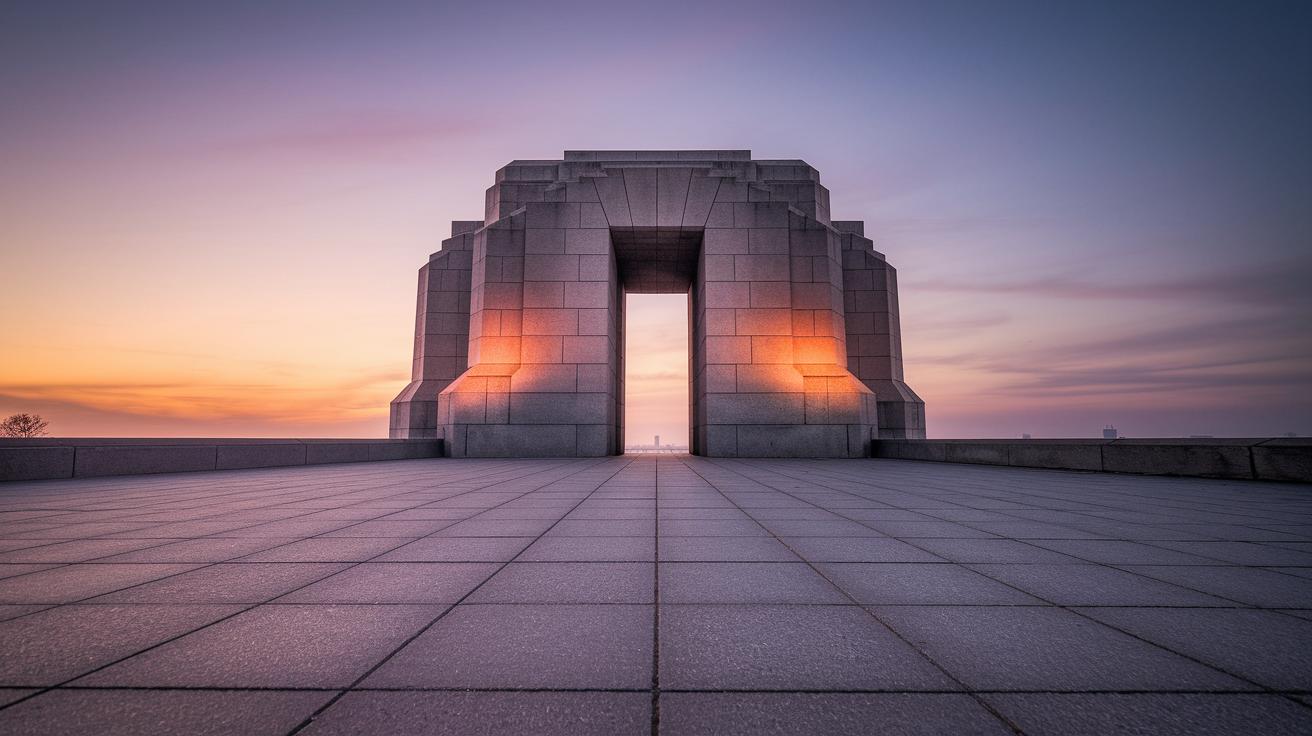
When you're photographing historic landmarks, getting the exposure just right is key. You adjust your shutter speed, aperture, and ISO to capture everything, from the bright highlights on ancient stone to the mysterious shadows tucked away in corners. Long exposures can even show gentle movements that seem to whisper secrets from the past, giving your photos a sense of time and life. Early morning shoots, when the light is soft and directional, help smooth out harsh edges and bring out textures, while careful aperture control keeps both sunlit details and dark recesses clear. It’s kind of like painting with light, tweaking your camera settings until the mood and character of the monument naturally pop without blowing out reflective spots like marble or bronze.
- Pre-dawn Setting: Choose a low ISO and a narrow aperture (around f/16) with a slower shutter speed. This combo captures the soft, diffused light and fine details of the structure before the day heats up.
- Dusk Setting: At sunset, open your aperture a bit (around f/8), raise the ISO just enough, and use a medium shutter speed. This mix helps you catch that warm glow while showing off the stone textures.
- Low-Light Scenario: When fewer people are around and the light is dim, bump up the ISO, stick with an aperture near f/11, and let your shutter run a bit longer. This lets in enough light to balance movement and ambient tones.
Experimenting with these settings on site lets you adapt to changing light and ensures every shot captures both the historic vibe and a timeless feel.
Composing Historic Landmark Shots: Angles, Framing, and Perspective
If you love exploring old buildings, try viewing them from a fresh angle. When you change your perspective, a familiar landmark seems to tell a whole new tale. It’s like seeing your favorite building with new eyes and noticing little details you might have missed before.
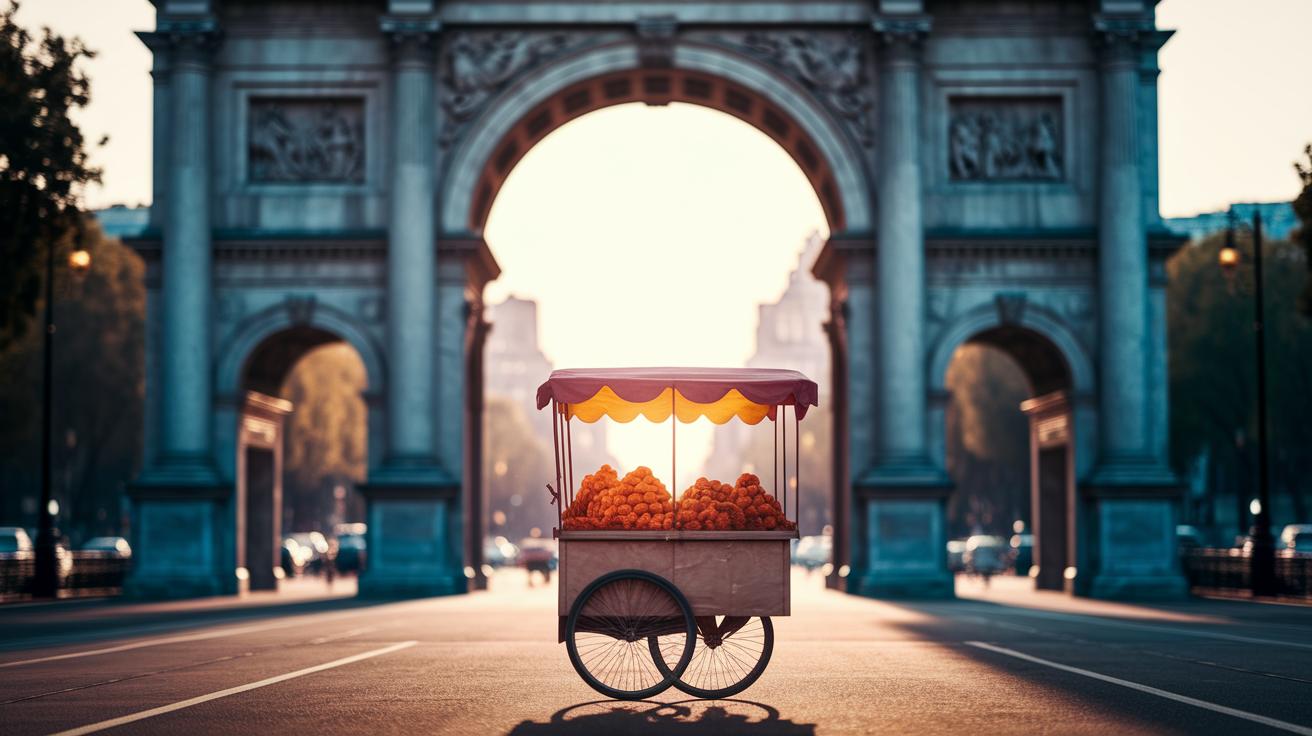
For example, shoot through an archway or a window. This naturally frames your shot and keeps the focus on the monument. Next, try shooting from a low angle. This not only makes the building look even grander but gives it a sense of power. And don’t forget to experiment with high-angle shots to capture the surrounding scene and emphasize the setting.
Including a person in your shot can make the scene feel more relatable. A local vendor or someone casually passing by adds a human touch and shows the scale of the landmark. You can also use natural architectural features like columns, arches, or rooflines to create unique frames within your picture.
Sometimes, the best way to see a new side of a historic site is to move around it. A different spot might reveal a dramatic change in how the facade presents itself. And if you can, throw in a hint of local culture, maybe a street performer or a lively market scene, to enrich the story the backdrop tells.
These creative tricks not only capture the beauty of the site but also evoke the deep emotions of its long history. Every angle and frame helps build a bridge between your own experience and the tales the monument holds. Enjoy the journey as you explore and experiment with these ideas, and let the magic of the past shine through your photos.
Mastering Light for Historic Landmark Photography: Natural and Artificial Illumination
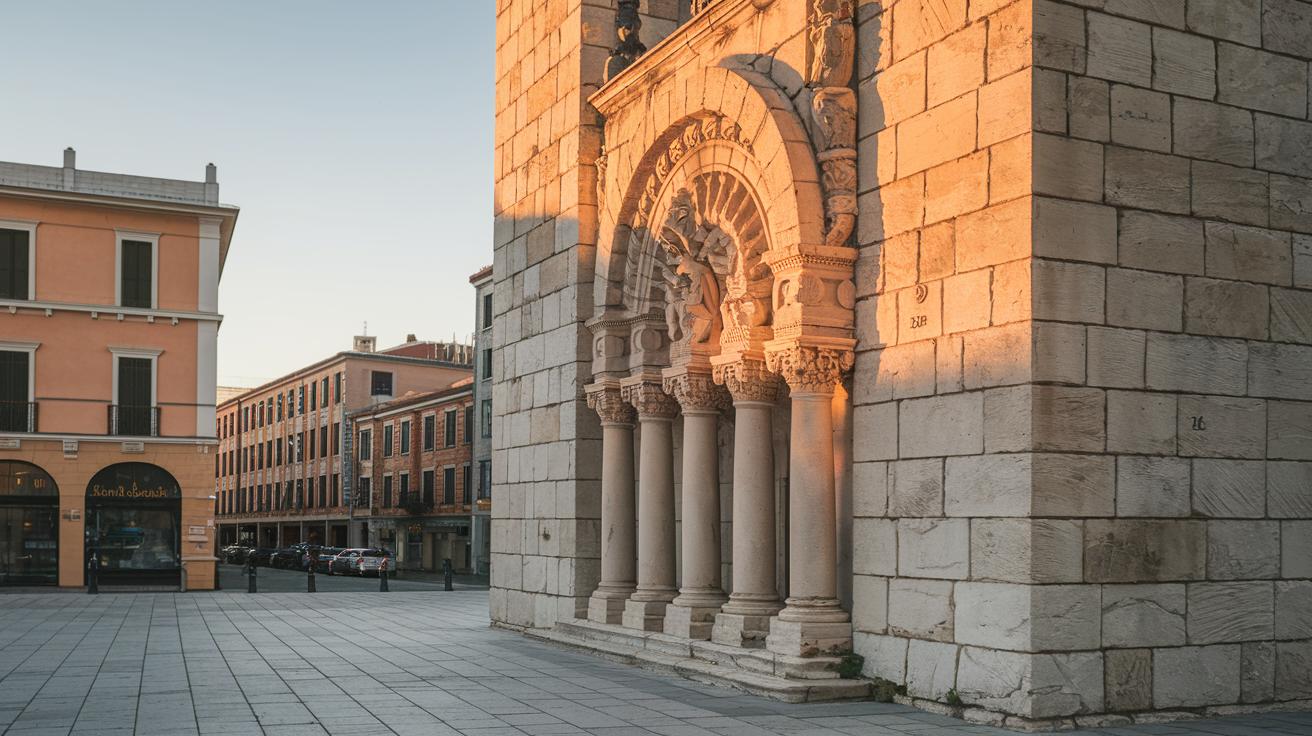
When you shoot historic sites during the golden hours, you're in for a treat. The early morning or late afternoon light is soft and warm, gently highlighting the stone details and textures without harsh shadows. It feels like the building itself is glowing as the light brings out every curve and carving. Imagine watching the slant of sunlight dance across weathered surfaces, it adds a dramatic, almost magical touch to your photos.
Indoors, things can be a bit trickier. Artificial light sometimes changes the colors or even creates unwanted effects. At historic sites, it’s important to let the natural mood shine through while using manmade light carefully. Instead of using a flash, which might upset the delicate atmosphere, try tweaking your camera settings to work with the available light. Balancing indoor lights with a bit of exterior glow can be a challenge but also a rewarding puzzle that preserves the site's true charm.
| Scenario | Best Time | Tips |
|---|---|---|
| Exterior Golden Hour | Early morning/late afternoon | Seek soft directional light and gentle shadows |
| Interior Low-Light | Overcast days/ambient illumination | Avoid flash; adjust ISO and aperture |
| Dusk Overview | Just after sunset | Balance fading light with stable settings |
| Flash-Ban Areas | Anytime | Use natural ambient or existing artificial light |
Highlighting Architectural Details and Ambiance in Historic Landmark Photos

When you explore historic landmarks, try to capture the tiny carvings, old faded writing, and worn-out surfaces that whisper tales from long ago. Focusing on these special details helps your photos bring the building's rich history and skilled workmanship to life.
Zoom in to show off the intricate carvings and sculpted features, imagine highlighting the gentle creases of a centuries-old stone relief so its weathered texture shines. Notice the natural marks and soft patina on stone surfaces. Look for faded inscriptions and small hints that tell the story behind the structure. Snap close-up shots of decorative reliefs to celebrate delicate craftsmanship. And don’t forget to include a bit of the setting around the landmark to add a warm, atmospheric touch.
Adjust your camera settings to a wide-open aperture so that the fine details stay crisp while the background gently blurs away, making each detail feel even more intimate and special.
Editing and Post-Processing Historic Landmark Photos: Vintage and Timeless Finishes
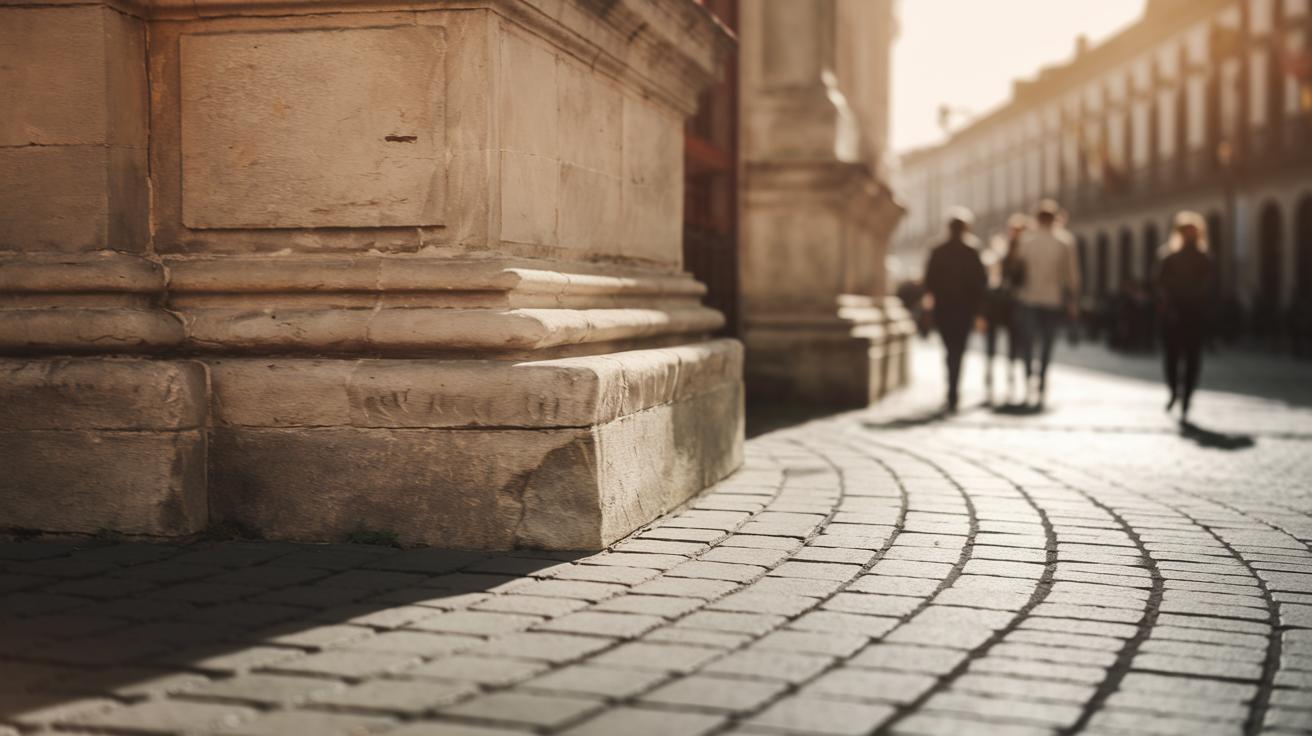
Imagine you’ve just spent an afternoon capturing a majestic old building in your camera, and now it’s time to give your favorite shots a little extra love. Start by loading your chosen images into your go-to editing software. Usually, you’ll begin with a simple crop and a touch of level adjustment to set a balanced frame, then add gentle tone tweaks that keep the original mood alive. This is like preparing a canvas for a vintage painting, where you enhance the timeless feel without losing the landmark’s real story.
Next, try these steps as if you were adding secret spices to a delicious recipe:
- Tweak the white balance and add a light layer of color grading (think of it as a soft filter) to keep the scene’s history shining through.
- Boost the contrast just a bit to bring out the texture of carved stones and time-worn details, making sure not to create any unwanted deep shadows.
- Sharpen specific spots, like intricate carvings or faded inscriptions, so that every little mark tells part of the building’s tale.
- And remember, steer clear of too many heavy filters, overdoing it might cover up the natural patina and the gentle charm of the structure.
When you’re editing, treat the historic landmark like an old friend whose memories you want to honor. Your aim should be to subtly lift its features, the weathered textures, the soft moods, that hint at a long, storied past, without completely changing its look. It’s like carefully polishing a treasured old photo, keeping the scuffs and marks that whisper stories of yesteryear. Each tool you use should be handled with care, making every tiny adjustment emphasize the deep character and genuine spirit of this beautiful heritage site.
Respectful Practices and Permissions for Photographing Historic Landmarks
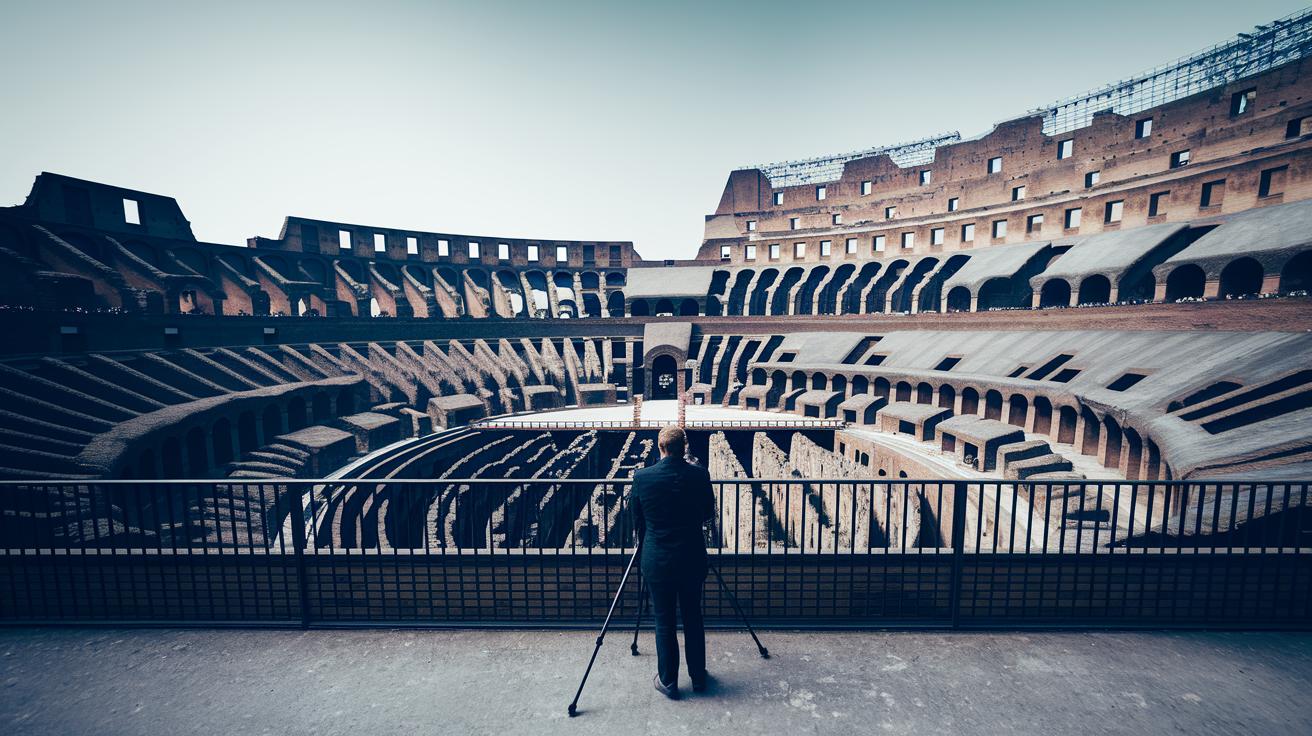
Taking photos at historic landmarks is more than just snapping a picture, it’s a way to honor the rich stories these places hold. When you’re out there, it’s important to stick to the on-site guidelines. That means avoiding flash when it’s not allowed, setting up your camera gear in spots that won’t block other visitors, and dressing in a way that shows cultural respect. Whether you’re capturing casual snaps on your phone or planning a professional shoot, keeping these tips in mind shows genuine care for the local community and the landmark’s legacy.
For professional work, make sure you secure the required permits well ahead of time. This extra step not only preserves the unique atmosphere of these sites but also protects their heritage for future travelers. For example, spots like the Colosseum have strict rules (check out this link for how things work in Rome), so it’s wise to follow similar practices wherever your adventures take you.
- Follow all posted instructions and steer clear of using flash where it isn’t allowed.
- Place your camera gear and tripods in areas that keep pathways clear for other visitors.
- Apply for and obtain any necessary permits before starting a professional or commercial shoot.
- Dress appropriately and behave respectfully at all times.
Final Words
In the action, this guide to photographing historic landmarks shares eight smart tips that cover everything from pre-trip research and unique view selection to adjusting camera settings at dawn and dusk. The post walks you through framing, exposure tweaks, and focusing on architectural details, all while reminding you to respect each site's rules.
Each tip builds a clear roadmap for capturing the charm and subtle textures of historic sites. Enjoy your next photo session with confidence and a smile.
FAQ
What are key steps for photographing historic landmarks?
The key steps include researching the site, planning your visit around crowd patterns, choosing creative viewpoints, and capturing architectural details. This approach helps you create respectful and engaging images.
How can I master exposure when photographing historical buildings?
Mastering exposure means adjusting your shutter speed and aperture to balance light and shadows, experimenting with long exposures for a sense of movement, and shooting at early light for softer illumination.
What are useful techniques for composing historic landmark photos?
Useful techniques include varying your shooting angles, framing with architectural elements like arches, and including people for scale. This method creates images with depth and context.
How do I best utilize light when photographing heritage sites?
Best utilize natural light by shooting during early morning or late afternoon when the light is soft, avoiding harsh direct sun, and carefully managing indoor lighting to maintain true colors in your photos.
What should I focus on when highlighting architectural details?
Focus on architectural details by zooming into carvings and textures, using shallow depth-of-field to create focus, and capturing weathered surfaces that tell the historical story of the landmark.
How can I edit historic landmark photos while keeping authenticity?
Edit photos with subtle color grading and contrast adjustments that enhance stone textures and carvings. This careful editing preserves the site’s historic character without over-processing the image.
What respectful practices should I follow when photographing at historic sites?
Respectful practices include following on-site rules, avoiding flash, obtaining required permits, and dressing appropriately. These practices protect both the site and fellow visitors while maintaining cultural sensitivity.