
Ever thought your photos might be whispering their own stories?
Imagine each snapshot as a mini travel diary, capturing that friendly glow of a sunrise over a quiet street or the bold vibe of neon-lit alleys.
This guide is like a cozy chat over coffee, showing you simple ways to let your camera pick up on the magic around you (think soft shifts in light and those tiny, unforgettable details).
Each shot can stitch together to create a vibrant travel tale that truly mirrors your unique style.
So, are you ready to watch your photos come alive?
Step-by-Step Travel Photo Story Creation
Imagine you're on a journey, capturing not just a view but the soul of a place. A travel photo story mixes sweeping landscapes, lively cultural scenes, friendly faces, historic sites, charming architecture, tempting food, and all those delightful sensory moments to create a captivating tale. It's like a snapshot that whispers its own story.
This adventure unfolds in 11 clear steps, guiding your camera from that first snap to the final show of your journey. Each step is a little tip to help every picture add its piece to an unforgettable story.
- First, take a moment to just look and feel your surroundings, put your camera aside and let the place speak to you.
- Then, check out how the light changes the mood. Notice the gentle glow of early morning or the soft hues at dusk.
- Snap wide shots that capture the bigger scene, like the endless sky stretching over gentle hills.
- Zoom in on the small, sweet details, whether it's a quirky sign or the fine curves of a historic door.
- Catch moments of daily life with action shots, like locals sharing a laugh or strolling down a vibrant street.
- Don’t forget the textures and colors around you, like the rough bark of a tree or the playful shimmer of sunlight on water.
- Chat with local folks, they might share hidden treasures or stories you wouldn’t find in a guidebook.
- Look up some background info about the place; knowing its history adds a rich layer to your photos.
- If you can, revisit the spots from different angles or at various times. You might uncover a secret perspective.
- Organize your shots thoughtfully, ensuring every picture builds on the previous one.
- Finally, let your personality shine through in each photo, develop a style that’s uniquely yours.
Transitioning from snapping photos to piecing together your story is where the magic really happens. Sort through your images, pick your favorites, and arrange them in a way that feels like a natural, flowing journey. Enjoy the process as your raw moments transform into a narrative that truly captures the heart of your adventure.
Planning Your Travel Photo Story: Itinerary and Shot List

Planning ahead turns your photos into a living story. By checking out the history, customs, and favorite local spots before you head out, you create a visual diary that truly captures the place. It’s like drawing a rough map of your day, each stop lets you snap an image that tells its own tale. Ever noticed how a quirky market stall or a lively street corner just seems to burst with local charm?
Next, line up your shots with your daily plan. Begin by sketching a simple storyline that guides your camera. Set aside times for wide, scenic views, spontaneous local interactions, intimate close-ups, and those little details that bring a place to life. Pack your gear in advance and make a checklist to cover all your must-capture moments. This way, every click feels deliberate and full of the magic of your adventure.
Capturing Compelling Shots for Your Travel Photo Story
Imagine snapping a picture and also learning a few insider tricks to make your travel story pop. This guide shares down-to-earth lens choices for different lighting and tips on catching those quick, magic moments.
Wide-Angle Context Shots
Grab a wide-angle lens like a 16-35mm to show off entire landscapes and city scenes with clear detail. When the lighting gets dim, bump up your ISO a bit and lean on a tripod to steady your shot. For instance, I once adjusted my aperture during a twilight moment with my 16-35mm and ended up capturing both the vast sky and the intricate urban details perfectly.
Intimate Detail Frames
Switch over to a 50mm or a dedicated macro lens when you want to reveal the little things that tell a story, like the texture of an old sign or a hidden mural. A low f-stop (a wider aperture) in softer, changing light lets every little crack and faded letter shine. I remember using a 50mm in ambient light, where even the tiny imperfections spoke volumes about the place.
Dynamic Action and Sensory Photos
For those spontaneous, heart-tugging moments, set your camera to continuous shooting mode. Keep an eye out for cues, like a local vendor arranging his stall, and be ready with a quick shutter. I learned that by really watching people's movements, I could catch that fleeting smile or spontaneous gesture that makes a scene come alive.
| Shot Type | Lens Choice | Lighting Tip |
|---|---|---|
| Context | 16-35mm | Use a tripod in low-light |
| Detail | 50mm or Macro | Use a wider aperture for softness |
| Action | 24-70mm f/2.8 | Fast shutter for candid moments |
Plan your shooting sessions during the golden and blue hours. Experiment with exposure settings to balance deep shadows with bright highlights. At blue hour, for example, a slower shutter speed can transform an ordinary street scene into something that looks like a softly lit painting.
Organizing Your Travel Photo Story: Sequencing and Structure
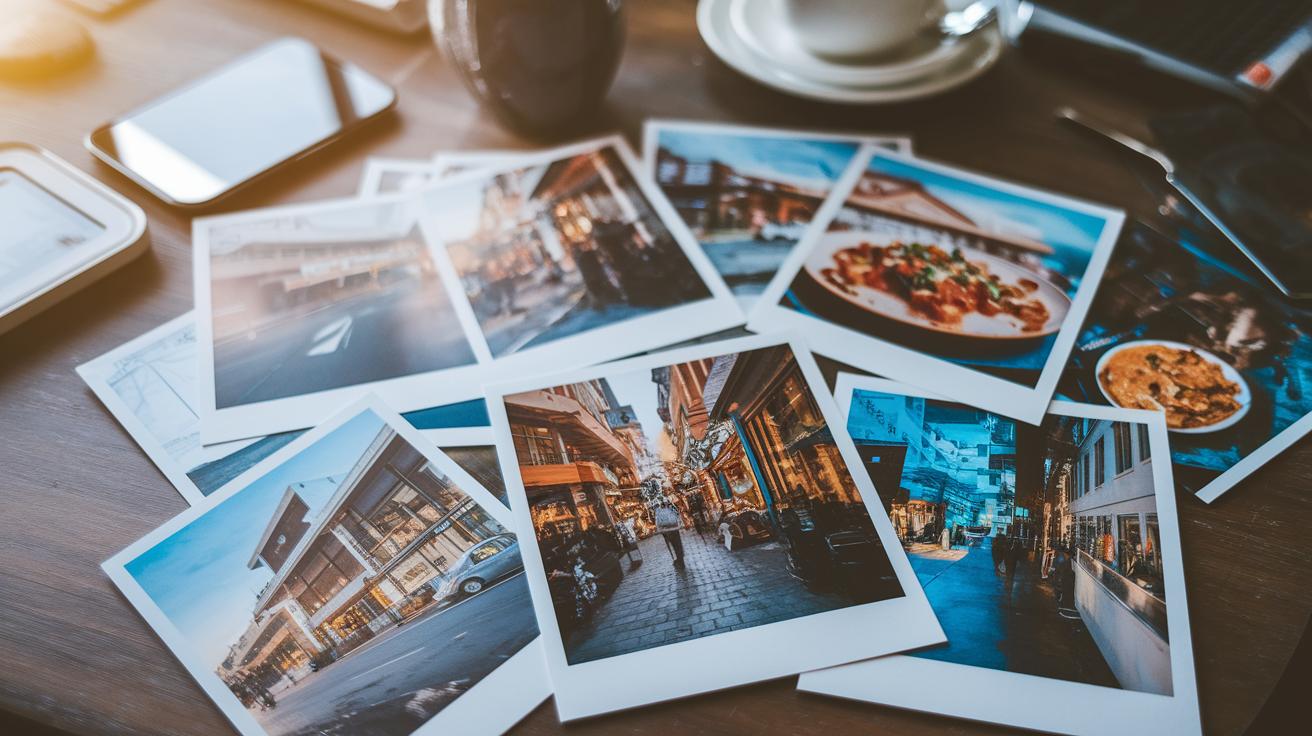
Sort your photos into small clusters based on where you were, what caught your eye, or simply the order you experienced the moments. Imagine you’re tucking away mementos into piles, one set for lively street scenes, another for delicious food snapshots, and another for local landmarks. This way, your visual story naturally invites people to journey through your memories, one clear slice at a time.
Then, plan your sequence to create a smooth flow from one photo to the next. You can line them up in the order of your trip or group them by themes, almost like chapters in your adventure diary. Try using visual cues like matching colors, similar shapes, or even patterns of movement to guide the viewer along the route. It brings your travel tale to life and keeps each image building on the last.
| Method | Description |
|---|---|
| Chronological Flow | Arrange photos by the order of your trips. |
| Thematic Panels | Group spots like tasty eats or cool landmarks. |
| Visual Match | Link shots using similar colors or shapes. |
| Contrast Cuts | Mix it up with different styles to change the pace. |
Editing Techniques for a Cohesive Travel Photo Story
When you’re piecing together your travel photos, think about giving them a shared color vibe that ties everything together. Adjust the hues until every image glows with that inviting warmth, like turning each picture into a scene from your very own travel movie.
And don’t overlook batch processing. It’s like setting up your photos with the same touch of magic, fixing exposure, contrast, and saturation all at once so that each shot carries the same inviting light and shadow details.
Take a moment to fine-tune your composition by cropping and straightening with the rule of thirds (a simple guide to balance your shot) and aligning obvious lines. Even a few small tweaks, like clearing out distractions and emphasizing your main subject, make a huge difference, and exporting at the right resolution ensures your travel story looks sharp wherever it’s shared.
Presentation and Layout Tips for Your Travel Photo Story

When you pick a way to show off your travel photo story, think about how you want people to feel while they experience it. Printed photo books offer a lovely, tangible charm that you can hold in your hands, while digital slideshows and online galleries add a modern twist with smooth transitions and fun, interactive touches. And then there are blog embeds that mix images with stories, letting brief captions and diary notes add more life to every picture. You can go with a neat grid layout for organization or choose a full-bleed design when you want each photo to truly steal the scene.
A strong layout starts with picking the right fonts and spacing. Clear fonts for headers and captions guide your eyes from one image to the next without a hitch. For example, a short header in a simple sans-serif typeface can set the tone perfectly, and plenty of space between text and photos keeps everything from feeling too crowded. Clean text boxes and generous margins let your images breathe, turning each page into its own little gallery.
Also, think about how your audience will navigate through your story. Mixing groups of similar images with engaging captions or short diary entries, like one that says "The early light reveals hidden details", adds a fun rhythm to your photo journey. This thoughtful pacing gives each image its moment and keeps your story fresh and inviting.
how to create a travel photo story: Stunning
Imagine weaving together snapshots of bustling street markets, historic sites, colorful festivals, and cozy food spots. Each photo acts like a window into a different part of everyday life, whether it's a busy market stall or a quiet cultural landmark. Picture your story starting at a charming street corner, drifting through local celebrations, and settling on simple, heartfelt dining moments.
A cool trick is to give your photos a smooth, story-like flow. First, set the scene with an inviting image, then toss in a few surprising moments that make viewers wonder what comes next. Follow that with closer looks at the little details of local life and wrap it up with a final image that makes everything feel complete. It’s like building a mini adventure that draws your audience in bit by bit.
Start your own travel photo tale by looking at real-life examples that spark your curiosity. Choose details that catch your eye and play with how you line up your shots. This is the first step toward crafting a narrative that feels both genuine and captivating, inviting everyone to join you on your journey.
Final Words
In the action, the guide walked you through shaping memories into a lively travel photo story. You learned how to plan your shots, capture both wide scenes and intimate details, and arrange your images in a natural, flowing order. Tips on editing and presenting your photos helped set a clear visual narrative. Now, with these insights on how to create a travel photo story, your next escape awaits, full of color, character, and an honest look at your world. Ready to roll your camera and capture what truly matters?
FAQ
How do you create a travel photo story online for free?
The process of creating a travel photo story online for free involves selecting a digital platform, uploading your images, and using built-in editing and caption tools to form a clear narrative that brings your travel memories to life.