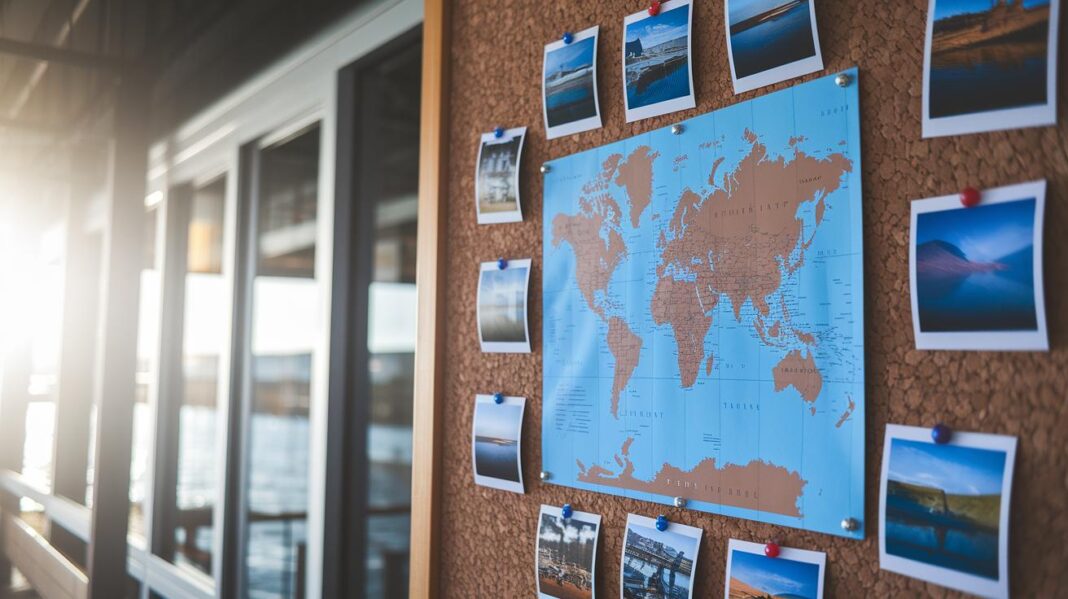

Have you ever looked through your phone’s photos and wondered if they secretly map out your adventures? Each snapshot isn’t just a moment captured, it’s a little marker on your journey, kind of like a pin dropped on a map.
Now, imagine a guide that shows you how to turn those memories into a vibrant trail of all your favorite stops. This fun, step-by-step method uses a simple tool to help you piece together an interactive record of your travels. It brings your past trips to life with every picture, inviting you to see your journey in a whole new light.
Step-by-Step Photo-Based Travel Mapping Workflow

First, gather your travel photos and check their GPS details (the clues that tell you exactly where and when you snapped that picture). You might find a shot called "Golden Hour in Rome" with its geo-coordinates included, ready to highlight a favorite memory.
Next, pick a mapping tool that feels right for you. Many travelers enjoy using free services like Google My Maps because they let you create engaging, story-like itineraries. You can also visit a travel planner for extra setup tips if you need them.
Then, import your photos into your chosen mapping tool as custom markers. Arrange them into layers by day or category, like food stops, cultural sites, or beautiful views. This way, you create a guided map that captures the magic of each day.
After that, plot your routes by grouping spots that are close together. This makes it easier to explore and saves time on the go. Adjust the marker icons, colors, and captions so each spot truly tells its own story, maybe even something like, "A calm park walk under a cloudy sky that left a soft memory."
Finally, share your interactive map with friends or travel buddies, and download it for offline adventures using Google Earth. This entire process transforms your snapshots into a personalized travel story, inviting everyone to join you on your journey.
Organizing Travel Photos for Mapping Success
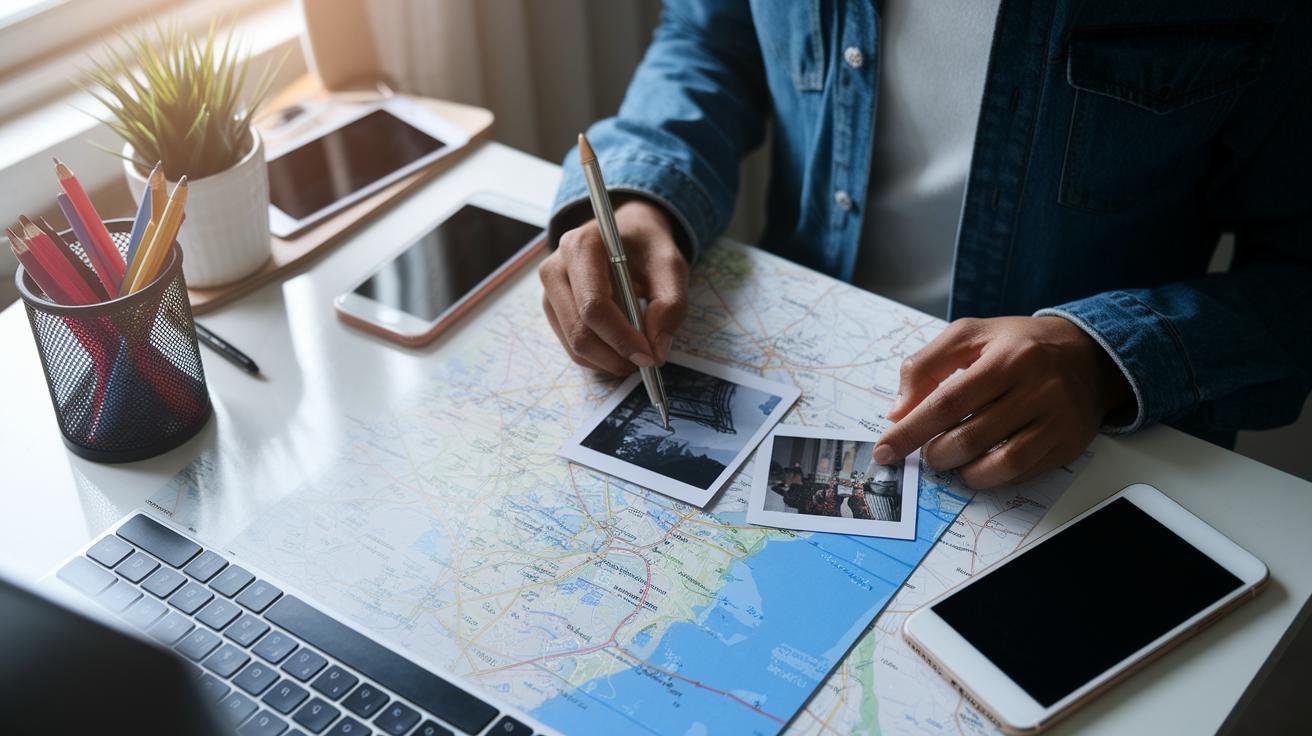
Group your travel memories by trip sections, dates, and spots so that building your map feels like a fun adventure. A neat trick is to label your files with clear names like Paris_2023_March_Eiffel, making each snapshot instantly recognizable. Try using a consistent naming style (City_Date_Site) to keep everything in order.
Always check that each image has the right GPS info. This little detail turns random photos into precise digital postcards from every destination. And if you come across any blurry or off-kilter shots, feel free to skip them, stick with high-resolution images that really capture the moment.
Next, sort your photos into themed albums such as landmarks, tasty local spots, or those breathtaking views. It’s like curating your own mini gallery. And if you need a bit more structure, grab some travel itinerary templates from myinstapalette.com?p=132 to neatly organize your adventure records.
Finally, review your folders to ensure they’re arranged by date and event. This extra step makes putting together your interactive map as effortless as a relaxing stroll through a scenic neighborhood.
Selecting Mapping Platforms for Photo Integration
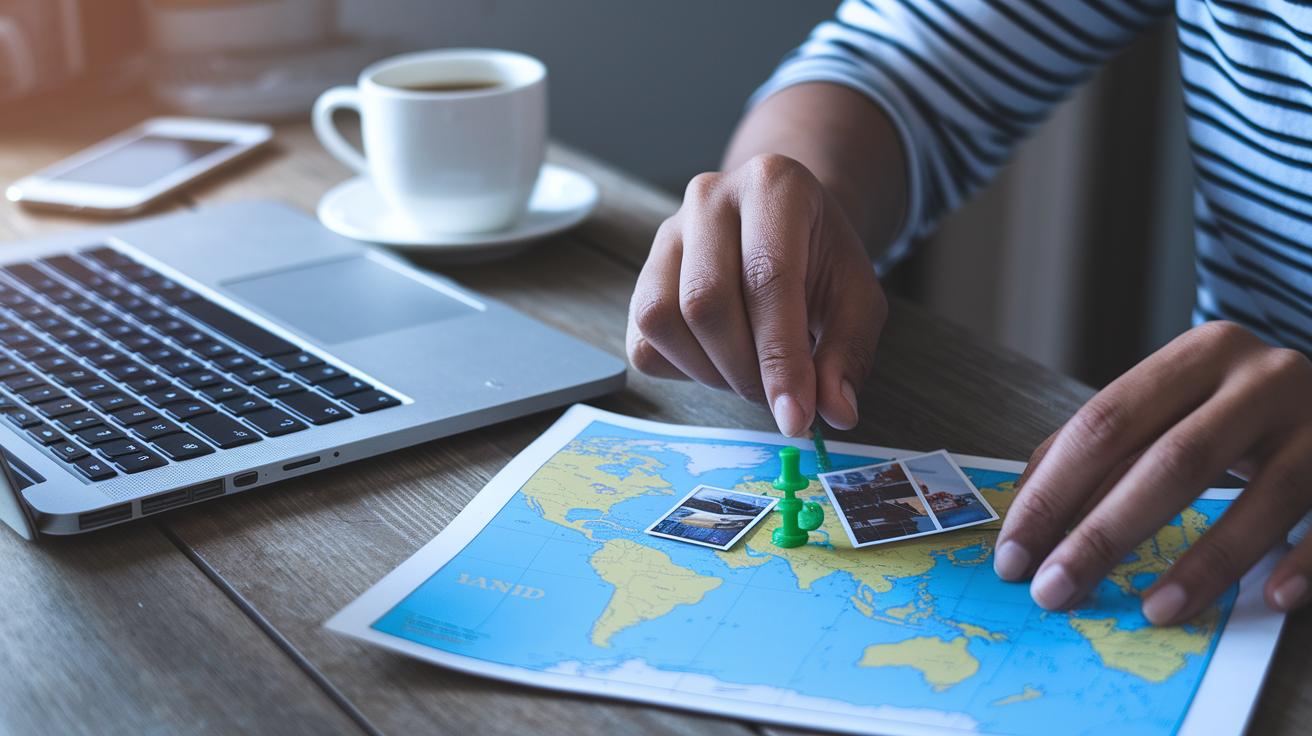
Ever dreamt of plotting your travel photos on a map to relive your adventures? There are a few cool options you can try. Google My Maps is free and easy to use. You can drop your photos into place on the map (think of it like pinning memories on a treasure map) and even add up to 10 layers. It’s perfect for on-the-go travelers who want to plan a quick route.
Then there’s Mapbox. This tool is a bit more creative and lets you style your map just the way you like it. Imagine adding interactive touches and dynamic routes to your picture story. But a heads up, it might take a little extra time to get the hang of its design features.
A third option is ArcGIS Online. If you’re looking for deep control over every little detail, this platform is a great choice. It offers powerful layer management for those detailed layouts and even syncs with mobile devices. It might cost a bit more, but it’s ideal if you want your photo map to be as detailed as a real travel journal.
Each of these options has its own charm. Think about what’s most important to you, simplicity, creativity, or detailed control, and give each one a try. Happy mapping!
Designing Your Visual Itinerary with Photos

Break your photo map into daily spots or regional groups that stick together. Think of it as planning your own adventure, where you label spots like "Morning view at Old Fort – best around 8 AM" so you know exactly when the light shines just right.
Now, mix in some travel time details with your photo stops. Estimate how long it takes to get from one place to another. This way, you can decide if there's time for a quick snap at a cozy café or a peaceful park. For example, jot down "After the museum, take a quick stroll to the nearby park for a light lunch" to add both timing and local flavor.
Then, add specific photo reminders to each note. Write simple cues such as "Capture the reflection of the sunset on the river" or "Snap the ivy-covered wall from this angle" to spark your creativity. These little tips help turn a basic map into a lively, picture-filled journey.
Finally, combine these ideas into your step-by-step guide. Blend in your examples and time estimates to simplify your planning and give you handy reminders at every stop. This approach makes your travel itinerary as spontaneous and memorable as your adventure itself.
Adding Interactive Imagery to Your Travel Map

Bring your photo map to life by sprinkling in interactive surprises that let you truly explore every spot. Start by giving each map point a pop-up image gallery or a neat embedded video. For example, you might add a small gallery of market scenes at dusk (imagine vibrant street vendors lighting up the evening) to evoke memories and spark curiosity.
Next, add clickable markers along your route. These markers can show you a quick image or even a short clip of local festivities, like a lively parade. Just tap a marker and watch the magic unfold!
Then, organize your map with simple filters. You can switch between themes like food spots, historical landmarks, or even seasonal highlights. This makes it super easy to plan your stops as you wander at your own pace.
Finally, consider adding offline access with Google Earth. This way, your digital travel guide stays handy even when the network is spotty. Enjoy a reliable companion on all your adventures!
Crafting a Photo-Driven Cartographic Narrative
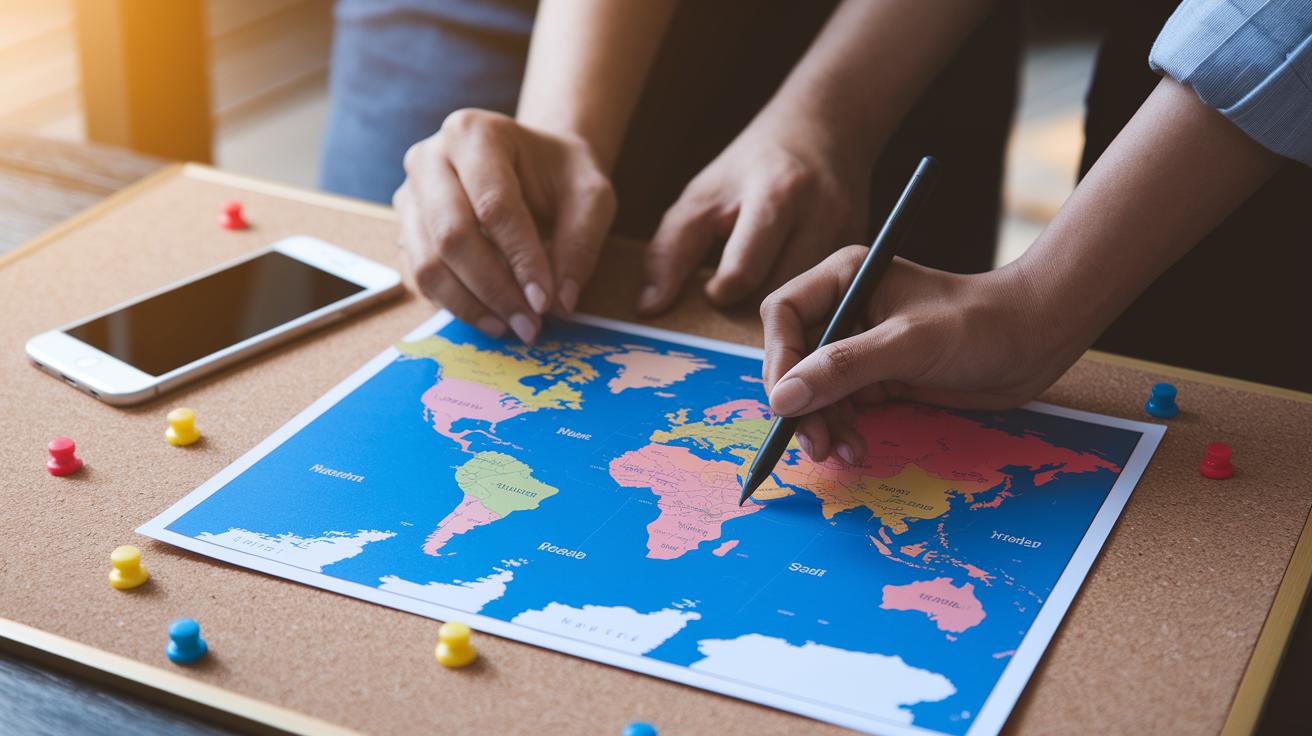
Imagine planning your trip as if you're drawing a colorful map filled with memories. Start off by marking each part of your journey with different colors. For example, use a soft blue to capture the calm of early mornings and a sunny orange for those lively evenings. This little trick turns your map into a visual diary, hinting at the feelings you experienced along the way.
Next, arrange your time-stamped photos so they flow naturally like your adventure. Picture your journey unfolding from the very first step you took in a new city to the last glow of a sunset. Each photo, neatly placed in order, builds a story that feels both lively and heartfelt.
Keep your captions short and sweet. A quick note like "Early morning stroll under soft light" can spark a memory without taking the spotlight away from the picture. These brief captions remind you of the small, treasured moments that made your day special.
Finally, have fun customizing your map by matching its design to the vibe of your trip. If a part of your journey was peaceful, choose softer, calming backgrounds and markers; if it was buzzing with energy, go for bright, bold choices. This creative approach transforms your map into a vibrant canvas that tells the story of your travels.
- Group photos by different phases of your trip.
- Use timeline playback to watch your story unfold.
- Keep captions brief so your photos shine.
Preserving and Sharing Your Photo Maps
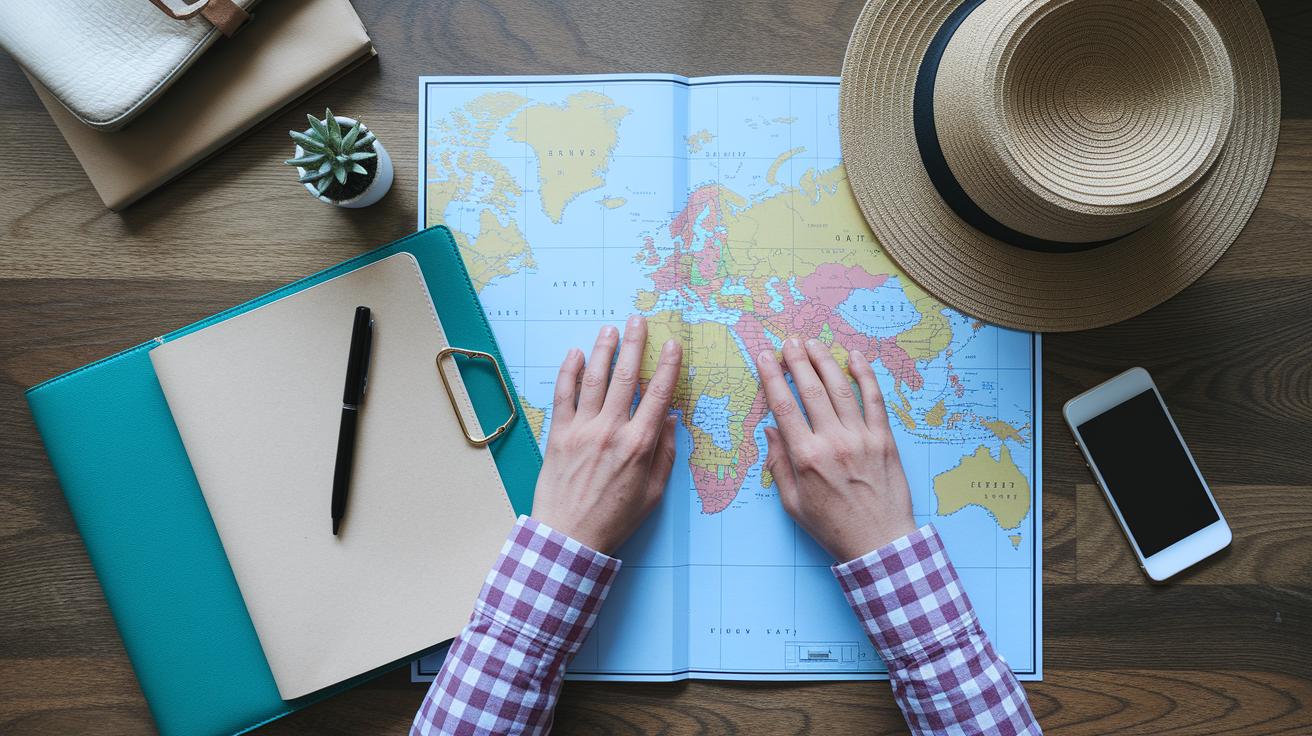
Export your interactive maps as PDFs, KML files, or simple images so you can easily share your travel moments with friends and family. This step makes it a breeze to relive your favorite memories whenever you feel the nostalgia.
Next, why not embed your photo-filled travel guide right into your blog or website? It gives other explorers a sneak peek into your journey. Plus, creating shareable links that let viewers comment or even suggest edits adds an extra layer of interactivity to your map.
Also, backing up your photos and map data is essential. Save your files on an external drive or in the cloud so your digital treasures are safe for years to come. A regular backup routine means you always have a copy of your adventures ready to be enjoyed.
And don’t forget to keep everything neatly organized in clearly labeled folders. For example, you might name one folder "Summer Trip 2023 – Beach and City" to capture those sunny, unforgettable days. This way, your map becomes a lasting, interactive travel guide that's simple to access and share with fellow wanderlusters.
Final Words
In the action, we explored a simple way to turn travel photos into an interactive map. We covered steps like grouping images by trip segments, choosing mapping tools like Google My Maps, and crafting visual itineraries that tell your story. Each step in this inspired guide to travel mapping using photos makes it easy to plot routes and share memories. Keep experimenting with your custom markers and interactive layers to add your personal flair. Enjoy mapping your travels and sharing your unique experiences with friends!
FAQ
What is the inspired guide to travel mapping using photos PDF and how can I download it for free?
The inspired guide explains how to turn travel photos into custom maps. It is available as a free PDF download, offering tips on organizing images, choosing mapping tools, and sharing your photo map.
How do Google Maps, Google My Maps, and the trip planner assist in creating photo-based travel maps?
The Google services like Google Maps, Google My Maps, and the trip planner help place photo markers, plan routes, and share maps. They provide free, easy-to-use tools for crafting interactive travel maps.
How can I make a travel map for my photobook?
Making a travel map for your photobook means turning your trip photos into a story map. Start by organizing images, placing geo-tags on a digital map, and exporting it as a shareable file.
Is there a free AI travel planner available?
A free AI travel planner uses smart tech to help create personalized travel maps. It automatically suggests routes, adds photo markers, and offers creative ideas for visual storytelling.
What are some of the best free travel map apps and popular mapping software options?
The best free travel map apps often include Google My Maps, Google Earth, and Google Maps. These platforms let you add photos and plan routes easily, making them favorites among travel mappers.